VW Beetle
Converting a VW Beetle from 6V to 12V
Plan a VW Beetle 6V-to-12V conversion with checks for the charging system, coil, bulbs, wipers, starter, wiring, grounds, and accessories.
VW Beetle
Plan a VW Beetle 6V-to-12V conversion with checks for the charging system, coil, bulbs, wipers, starter, wiring, grounds, and accessories.
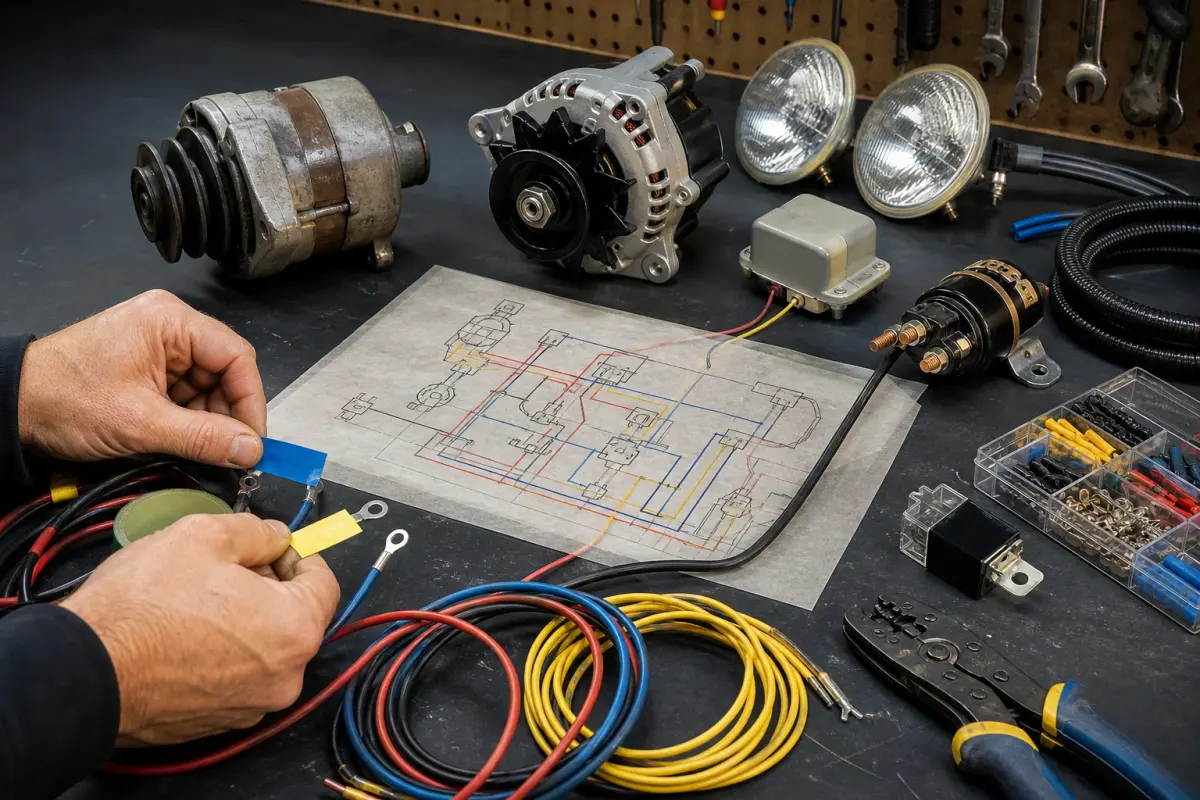
A 6V-to-12V conversion affects a system of connected components, so identify the car’s current configuration and plan the charging, starting, lighting, instruments, wipers, wiring, and accessories together.
Many early classic VW Beetles used a 6V electrical system. Some owners retain and repair that arrangement, while others plan a complete 12V conversion for a defined charging, lighting, starting, or accessory requirement. If an accessory such as a VW Beetle coffee maker is being considered, select the accessory only after confirming the vehicle’s actual system voltage and the device requirements.
The goal is a coherent, documented electrical system. Appearance can remain period-appropriate, but every retained or replaced component must have a known voltage, safe connection, and suitable protection.
Owners may want easier access to batteries, bulbs, charging equipment, and modern accessories. A well-maintained 6V system can still function correctly, so conversion should solve a defined need rather than mask poor grounds, damaged wiring, a weak starter circuit, or charging faults. Record the original configuration before changing parts.
Create a circuit and component inventory before ordering parts. For each item, record its present voltage, condition, feed, fuse, ground, connector, and proposed 12V arrangement. Mixed or unidentified components must be resolved individually rather than treated as one conversion kit.
Identify every component affected by the voltage change, which may include:
Before buying parts, confirm your Beetle’s year, engine setup, and whether it still has its original wiring. Many old Beetles have already been partly modified.
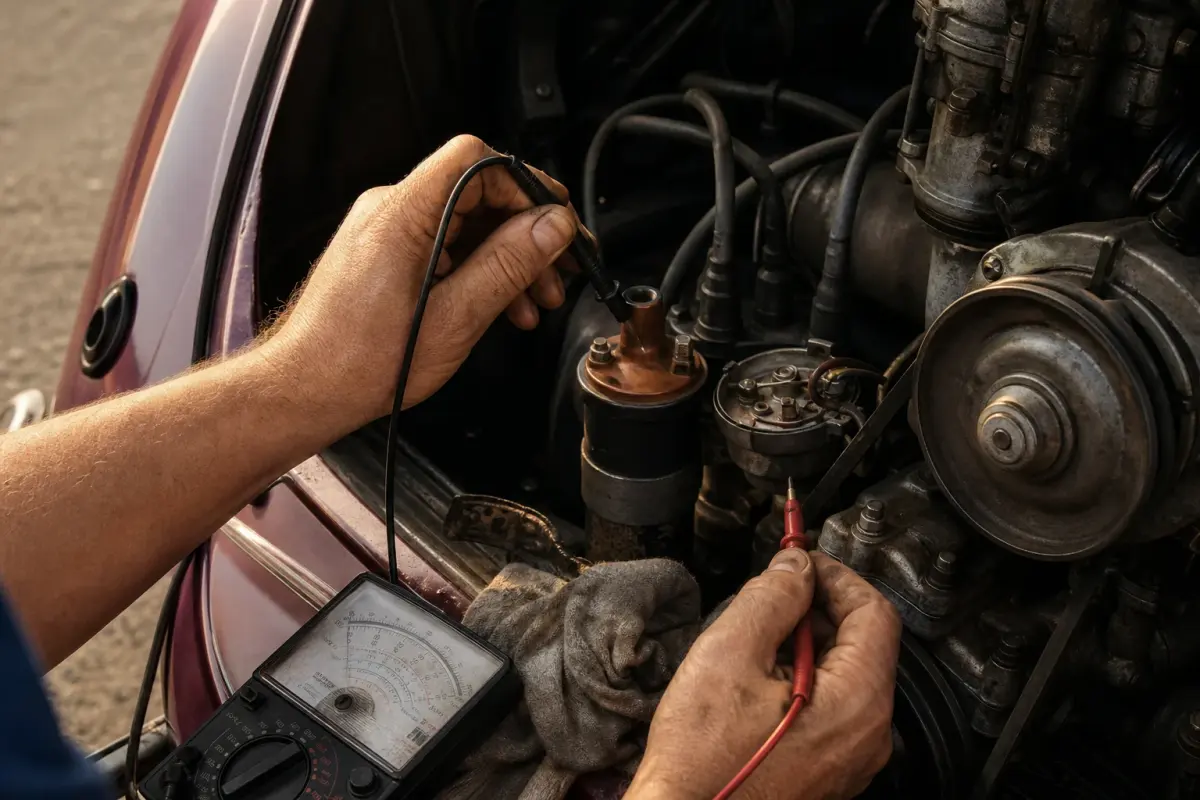
Inspect the battery, generator or alternator, regulator, coil, bulbs, relays, wiper motor, horn, gauges, starter, flywheel arrangement, accessory sockets, and added equipment. Do not infer voltage from model year alone. Previous owners may have converted only part of the system or installed mixed components that need separate correction.
Volkswagen’s Beetle 1300 model archive records electrical-system changes during production, but the hardware installed on a surviving car remains the source of truth.
Choose the charging arrangement from measured electrical demand, required output, regulator design, mounting, belt alignment, cooling, service access, and the components that can be supported locally. Appearance is a preference, not evidence that the system is electrically compatible.
A 12V generator can preserve a period-style engine-bay appearance, but its output, regulator, mounting, pulley alignment, wiring, condition, and ability to support the measured electrical load still need to be confirmed.
A 12V alternator and a 12V generator can have different output, regulation, mounting, and clearance requirements. Choose between them from the rated charging output, measured electrical loads, compatible components, intended use, and installation guidance rather than a general preference.
If using a generator, make sure the voltage regulator matches. If using an alternator with a built-in regulator, remove or bypass the old external regulator correctly.
Choose a complete 12V charging arrangement whose generator or alternator, stand, pulley, belt alignment, regulator where required, wiring, and current capacity work together. Confirm physical clearance and cooling. Follow the component maker’s wiring instructions and vehicle service information; an incorrect connection can damage the charging system or create a fire risk.
Specify the battery, regulator, main charging conductor, terminals, polarity, mounting, and protective clearances as one charging circuit. Confirm cable condition and fuse protection before energizing it; coil and ignition requirements belong to the separate ignition assessment.
This is also a good time to inspect the battery cables and ground strap. Weak grounds cause many Beetle electrical problems.
Fit the correct 12V battery securely with suitable terminals, cables, polarity, and protection from contact with the body or seat. Use the regulator arrangement required by the charging component. Inspect the main charging wire, battery ground, transmission ground strap, connections, and fuse protection before energizing the system.
Identify every 6V bulb and voltage-sensitive device and provide the compatible 12V component or documented supply arrangement required for the finished system. This includes headlights, rear lights, brake lights, indicators, number plate light, and dashboard bulbs.
Replace the flasher relay with a 12V unit. If the indicators flash too fast or too slowly after the conversion, check bulb wattage, grounding, and relay compatibility.
Replace voltage-sensitive bulbs, indicator components, relays, and the ignition coil or required ballast arrangement with parts suitable for 12V. Identify gauges, warning lights, radios, and senders that need replacement, a reducer, or a dedicated supply. A single overlooked 6V component can fail immediately or operate incorrectly after the conversion.
The wiper motor is one of the most commonly missed parts. A 6V wiper motor running on 12V may run too fast or burn out. Either fit a proper 12V wiper motor or use a suitable voltage reducer.
Do not use an improvised resistor arrangement. An incorrectly selected or installed reducer can overheat, operate the component incorrectly, or damage wiring.
Use a correct 12V wiper solution or a properly specified reducer for the existing motor, and verify speed under load. Check the horn and every accessory individually. Do not share an undersized reducer across unrelated circuits. For the VW Beetle coffee maker, choose the variation that matches the completed electrical system.
Identify the starter, solenoid, bushing, flywheel, ring gear, bellhousing, engine, and gearbox before selecting a starting arrangement. A component that turns the engine during a brief test is not proof of correct engagement, durability, or compatibility under repeated hot and cold starts.
A 12V starter may be appropriate only with the correct bushing, flywheel, engine, and gearbox combination. Identify the installed parts and use configuration-specific service guidance before ordering or modifying starter components.
The starter, solenoid, flywheel, bellhousing clearance, bushing, and ring-gear arrangement must be evaluated together. Several established combinations exist, but they are not interchangeable without the correct supporting parts and work. Confirm tooth count, dimensions, engagement, condition, and the procedure appropriate to the gearbox and engine before assembly.
A Beetle’s original wiring may be decades old. Before adding accessories, inspect the fuse box, connectors, grounds, and harness condition. Look for brittle insulation, loose joints, old tape repairs, and signs of overheating.
Good grounding is essential. Clean the battery ground, transmission ground strap, light grounds, and fuse box terminals.
Inspect insulation, terminals, splices, fuse ratings, switches, grounds, and cable size rather than assuming original wiring is automatically suitable. Repair overheated or brittle conductors and remove unsafe additions. Use proper crimping, support, grommets, and circuit protection. A voltage conversion does not increase a wire’s safe current capacity.
Bosch’s technical note on earth connections and polarity explains why clean, correctly connected return paths matter to starter and charging-system diagnosis.
Start by disconnecting the old 6V battery. Never work on the charging system, starter wiring, or fuse box while the battery is connected. Check the battery tray too, because rust under the rear seat is common on old Beetles.
Before reconnecting the battery, verify polarity, isolation, fuse values, charging connections, and that no tool or conductor can short to the body. Power the system methodically, check for heat or smoke, then measure resting voltage, cranking behavior, charging voltage, lighting, wipers, horn, gauges, warning lamps, and accessory operation. Stop immediately if a circuit behaves abnormally.
Document the finished system with a component list, fuse ratings, reducer or relay specifications, wiring changes, measured charging and cranking results, and labels for future service. A conversion should solve a defined requirement, not conceal damaged wiring, poor grounds, a weak charging system, or an unresolved starting fault.
Use compatible components, protected circuits, supported wiring, documented connections, and measured final tests. The finished 12V system should be serviceable, clearly labeled, and free from mixed-voltage assumptions that could damage a component later.
Label the converted system and keep a component record for future service. Select every replacement accessory by actual system voltage, connector, current requirement, fuse, wiring, and mounting method. Never connect a 6V accessory directly to 12V unless the device maker provides an appropriate solution. Use qualified electrical help when design or test results are uncertain. Recheck charging voltage, cable temperature, grounds, lights, wipers, and starting after the first drives. A conversion is complete only when every retained circuit and accessory has a known, protected 12V operating arrangement. Preserve the wiring notes for future fault-finding. Browse VW Beetle accessories only after confirming the finished system voltage and each accessory’s electrical requirements.
System checklist
A voltage conversion affects connected components as well as the charging source. Confirm the current car before choosing parts.
| System area | What to establish |
|---|---|
| Current vehicle | Existing voltage, year, installed engine and gearbox, previous modifications, and the condition of the wiring and grounds. |
| Charging | Generator or alternator arrangement, regulator strategy, battery, cables, warning circuit, polarity, and belt alignment. |
| Electrical loads | Coil, bulbs, instruments, wipers, horn, relays, accessories, and any component that cannot receive the new voltage directly. |
| Starting system | Starter, solenoid, flywheel and ring-gear arrangement, bushings, cables, and the chosen year-specific procedure. |
| Final testing | Polarity, grounds, protection, charging voltage, voltage drop, heat, abnormal noise, and correct operation before normal use. |
Test the converted system in stages before normal driving or connecting every accessory.
References
Use the source that matches the vehicle, year, installed parts, and location. A general guide cannot replace the correct service information or an inspection of the individual car.
Volkswagen’s record of model-year changes, including the move to a 12-volt electrical system in the described series.
Official repair-guide archive for specified Volkswagen Type 1 and Beetle model ranges; use only the guide that matches the individual vehicle and year.
Component-manufacturer diagnostic guidance for checking a charging system rather than assuming a component is correct.
Component-manufacturer guidance on ground connections and voltage-drop faults.
Fitment support
Tell us your Volkswagen model, year, and the part you are considering.
Related parts
See parts related to this guide and ask about fitment before checkout.
Browse matching partsContinue reading
Share your VW model, year and part, or include your order number.
Start a new chat for another question. Our support team will still have the closed conversation.